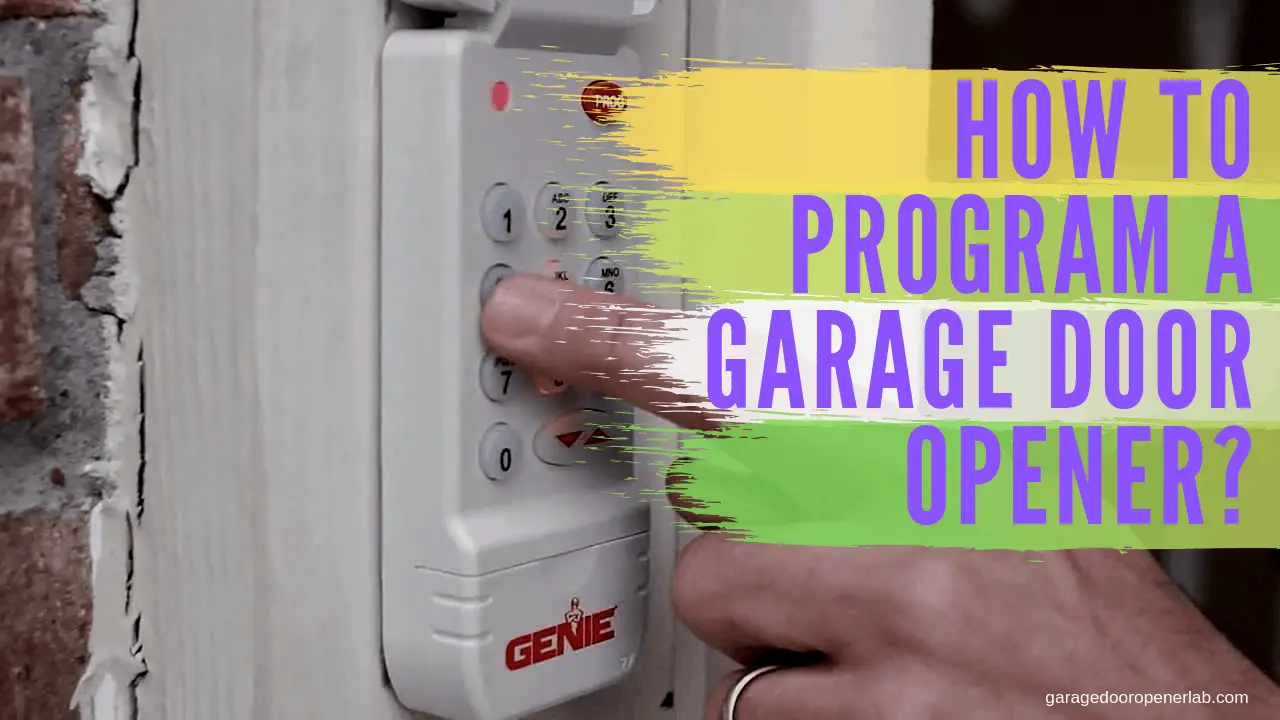
Did you know that you can program your own garage door opener all by yourself? Sounds technical. However, this is a simple process without any technicality.
Programming your garage door opener is actually very important. This will ease all the workloads that you may have in your garage. It also makes it easier to store your vehicle securely and properly.
The below step by step guidelines will guide you and they are all that you need, whether you have a manual or not. It is applicable to all types of garage door openers and will be of great help regardless of the type of car that you may be having.
Before programming
Table of Contents
- Ensure that the garage door opener operates at a frequency between 288 to 433 Megahertz.
- Find a helper where possible. It makes the process quicker. Note: it is possible to do it on your own.
- Ensure that pets and children stay away as the door may rise and lower during programming.
- Ensure that the in-car transmitter and the garage door opener are both in good condition.
Steps to Program a Garage Door Opener
1st Step
The first thing to do is to check the status of the battery. You are required to check the status of the battery of the handheld transmitter.
This is to ensure that the battery you have is new and powerful to help you perform your operations fully until the end as required.
An old battery will be hectic to work with. In cases where you may not be sure how long the battery has been used, purchase a new one to make programming easier.
2nd Step
Check the car key and ensure that you put it at the ACC position. Programming cannot be done when the car is off. Before programming, ensure that the car key is at the ACC position.
Also, check to ensure that everything is rightly positioned as required to enable better programming.
3rd Step
After checking to see that everything is set as required, you can then locate the transmitter and press it. Press the transmitter till the light starts flashing.
On the transmitter, there are two outer buttons. Press and hold the button for a minimum of 20 seconds until the lights start flashing. This is a step that is very important especially in cases where the car has never been programmed before.
4th Step
This is the most crucial step of the process. This is where you start your programming. This is done by holding the button that you are programming down for approximately 25 seconds without releasing it.
You can hold it using your hand. Make sure that you hold the button until it begins flashing slowly. Programming a garage door opener is sometimes tricky and requires patience.
Since it requires patience, you are then advised to hold it until you move to the next step. This is necessary and important because it will erase everything if you won’t do as required.
Note: as you go to the next step, do not release the button
5th Step
At this stage, you are required to enter the frequency into the handheld transmitter. Hold the transmitter with one hand and point it towards the already flashing light about 2inches (5.08 cm) away.
With another hand, press the operating button until the light starts flashing faster. This will imply that the frequency has been entered successfully. Release the two buttons.
At this point, you are done. You have successfully programmed your garage door. This is actually very simple since you will be only dealing with buttons by pressing them. After releasing the two buttons your process is complete and you are advised to test it.
6th Step
This is the stage where you will be doing your testing. Test your programmed garage door opener to see if it is properly working. To perform your testing well, Press the smart button on the garage door opener. If the button is not labelled, check the button with a light near it.
If the light stays on continuously, you have programmed your garage door opener and it is now ready for use! This implies that if you press the button in the in-car transmitter the door will move.
If the light flashes at intervals, programming is not yet achieved. In a span of fewer than 30 seconds, press the button that you were programming in the in-car transmitter for approximately 3 seconds then release it.
If the door does not move yet, press and hold it again for three seconds until the door moves. Once the door moves, your garage door opener is successfully programmed!
Note: here you may need someone to help you as time is a factor. However, if you are alone, do it as fast as possible. Just in case 30 seconds are over before you reach the in-car transmitter, repeat step 6 trying to be a little bit faster.
Final verdict
From our deep discussion, it is clear that though programming a garage door opener may sound too technical, it is just a few steps away.
Although there is a lot of information about how to program, there are indeed very few sources that have enough information to guide you through successfully.
Basing the information on experts’ knowledge, this guideline is one that is of great help whether or not you are having a manual regardless of the type of car or the garage door opener that you are using.
It is important that you go through all the steps comprehensively before starting to program. This will minimize the chances of making mistakes.